

When I saw both of my work on display I was so overjoyed, happy and shocked about not just having one piece on the wall but two of them. It was a real shock to me but I loved seeing my work on display.
 |
| Here I have drawn the first face of my character. I have used pencil and then went over with blue pen to create this. I chose this hairstyle because all of the Black Butler characters have long or really short hair, so I chose to combine them both. I have noticed that all of the Black Butler Books of Circus characters have face paint, so I decided to use tears on his face. I have chosen to have a branch headpiece as an accessory to give him femininity. |
 |
| Here I have drawn up some seal marks. I know by reference that all the seal marks have a pentagram so I based all of that my designs on a pentagram. I chose the centre one with the wing because it looks like the others in the anime and it looks like a moon with stars inside. For my poster, I will not use the wing because the wing is only for the demon. |
 |
| Here I have sketched my character's clothes. I chose this style because it goes with my theme of a circus. I have used a pencil to sketch these out on an A4 piece of paper. I chose to draw a corset on him because the main characters in the anime mainly have waistcoats and corsets. I chose to draw the dangly raindrops because it makes the costume look fun. |
 |
| I chose to draw these faces because it shows his different emotions, the middle head is his demon form face and hair. |
 |
| Here is my poster design for my character I chose this design because it shows the circus theme and the supernatural theme. I chose this pose because he looks like he is having fun and it looks elegant. I drew the tent because it goes well with the circus theme. I added the seal mark there in the centre because it shows he is the owner. I placed the souls around him and heading towards him because he is a demon and loves souls; this also shows the supernatural theme very well. I do not have a set colour scheme in mind, but I will choose the colours that work well as my designs develop. I know it will be mainly dark colours to go with the theme. |
 |
| Here I have scanned my hand drawn design and exported it into illustrator whereI have used a 0.25 pencil size to draw my poster design. |
 |
| Here I have made certain parts of my character thicker as every time I filled it in it kept on going out all over the page. |
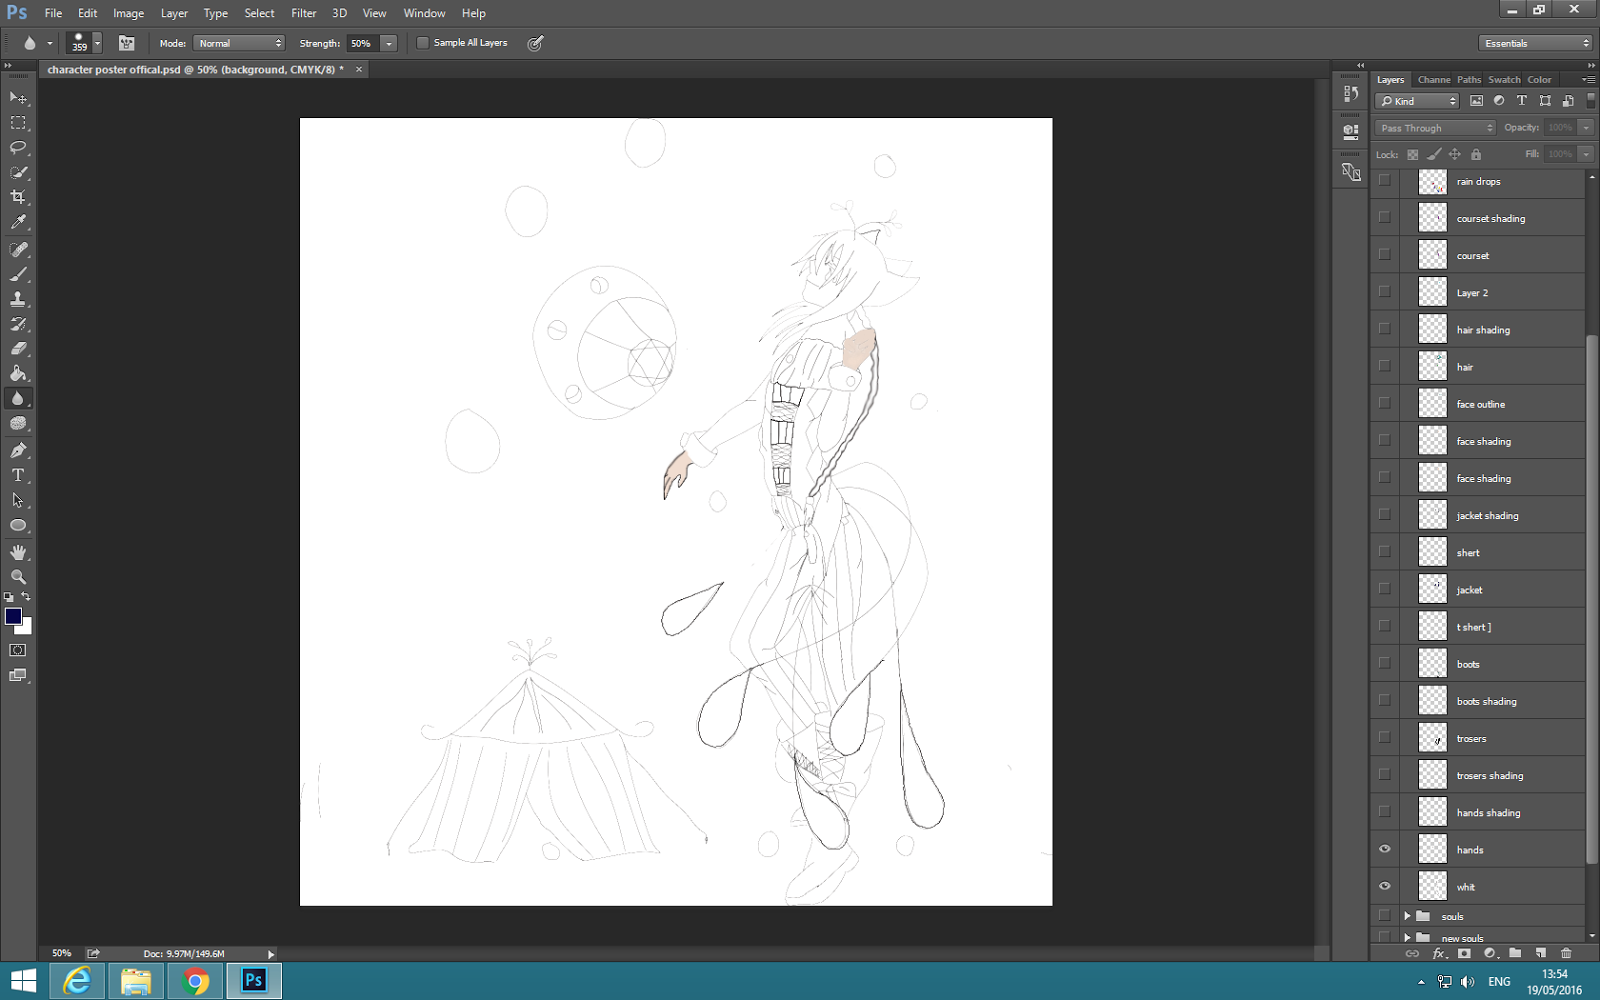 |
| Here I have started to colour in the hands. I used the select tool and selected the hands and then I used a paint tool and filled the selected parts with a pale skin tone. |
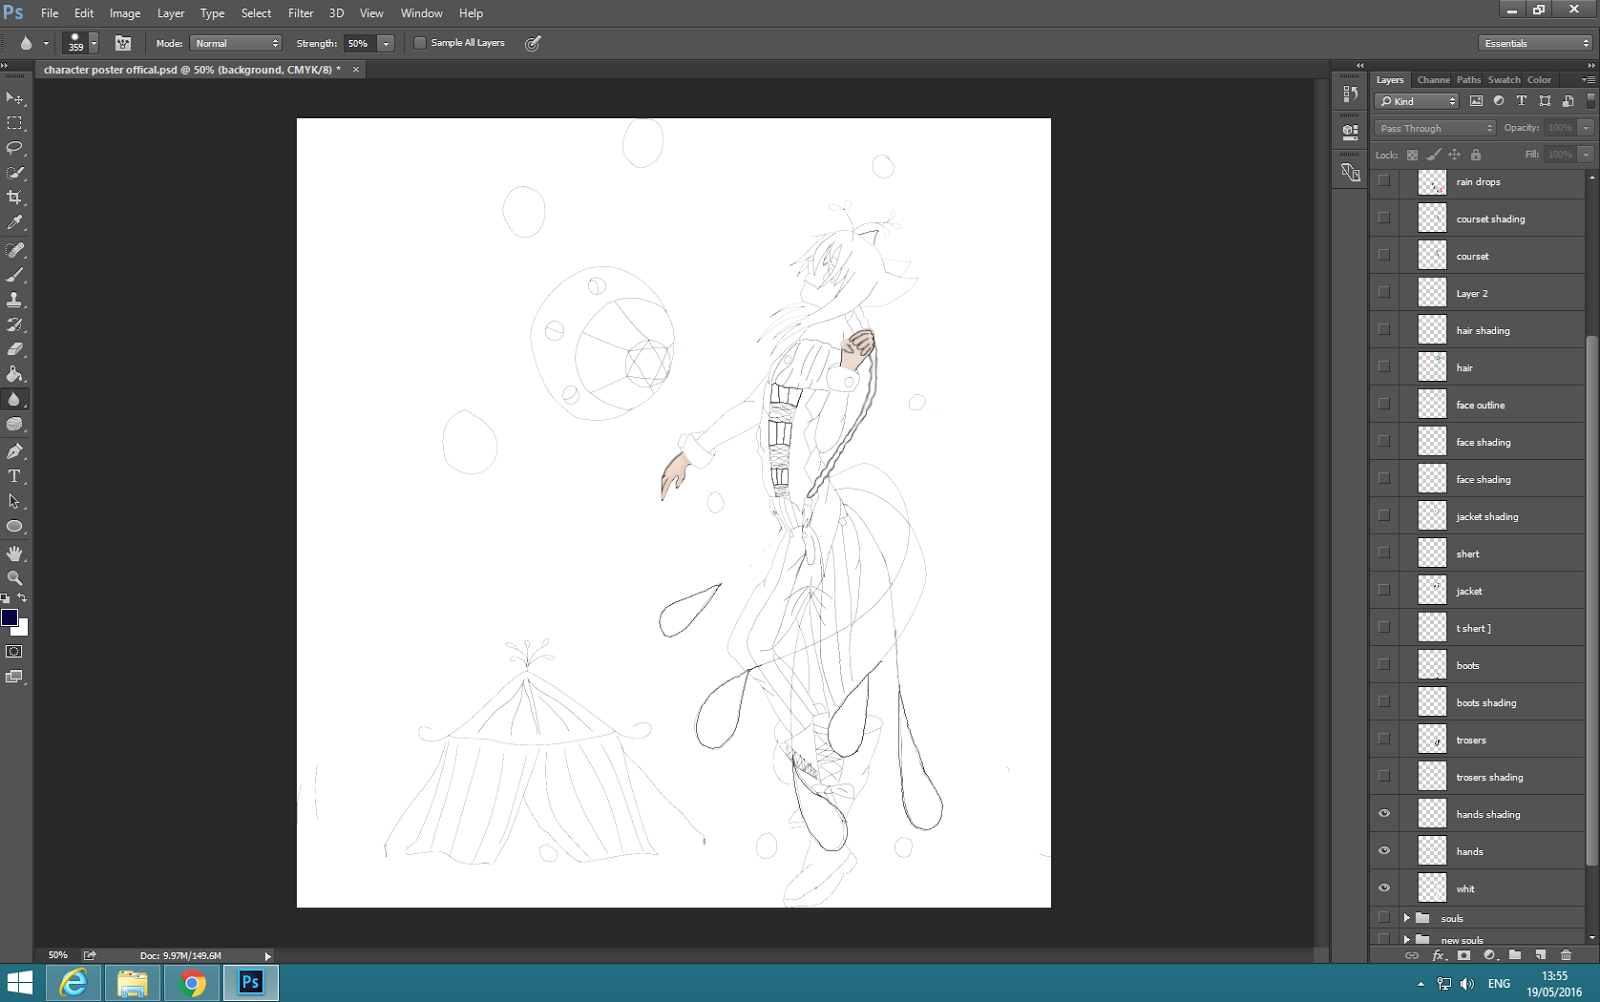 |
| Here I have selected a new layer and I have selected the brush tool using a mid pale skin tone and a darker skin tone. After I used the paint brush and applied it on the selected area I used the burn tool and blended them together. |
 |
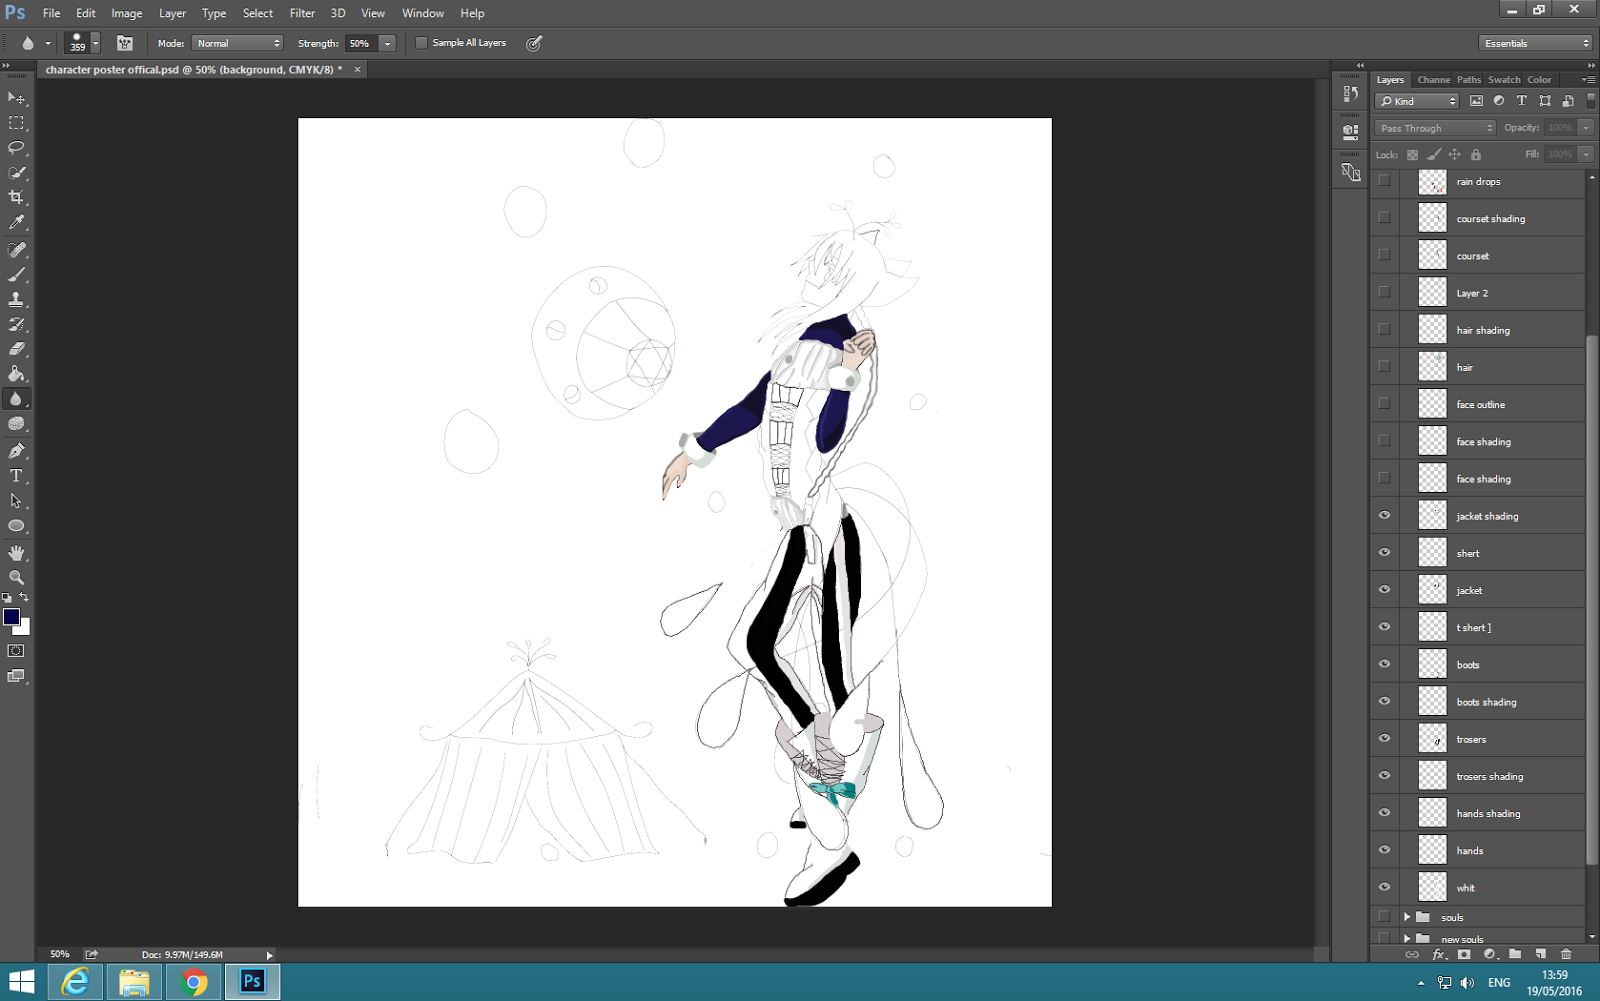
| Here I have selected a new layer and added some colour to the trousers using the colours black and white. I have done this by using the brush tool. I have also used the pencil tool to go around the outline. |
 |
| Here I have selected a new layer and a new colour: light blue-gray and then I used the blending tool to blend the colour lighter. |
 |
| I have added a new layer and selected the boots using the selection tool and then selected the black colour and used the brush tool to colour the souls of the shoes. Then I selected a turquoise colour and used the brush tool and coloured in the bows on the shoes. I have also added a dark turquoise colour where I think the dark shade is. |
 |
| Here I have selected a new layer and a new colour which was a blue-gray and used the brush tool. |
 |
| Here I have selected a new layer, selected a grey colour and selected a brush tool and used the brush tool around the selected area which is the shirt. Then I used the blending tool to the colour to make it lighter, then I selected a dark grey and used the brush tool to make a button. |
 |
| Here I have added a new layer and used the select tool to select the coat and then I filled the colour in with a dark blue. |
 |
| Then I selected a new layer and selected the brush tool and changed the hardness 100% and used it to make the darker colour where I think this is needed. |
 |
| Here I have selected a new layer and used the select tool to select the face and filled it in with a pale skin tone. |
 |
| Here I have used a brush tool and used it to draw where I think the dark part would be. |
 |
| Then I added a new layer and used a pencil tool to draw around the face and I then used the brush tool and selected the dark mid-tone green colour and used it where I think the colour should be for where I think the shade would be on the ear. Then I blended this in using the blend tool and after that I used the pencil tool and drew two tear shapes on his face. Lastly, I used two different colours to fill in the tear shapes. |
 |
| Here I have used the select tool to selected the hair and then I used the brush tool with a light green colour to colour in the top section of the hair. Then I selected a dark green and used the brush tool and coloured in the rest after I used the blending tool and blended the colours in together. After that, I used a brush tool and brushed a bright baby blue colour for highlights. |
 |
| Here I have added a new layer I have used the select tool to select the corset and used the brush tool to dull in the corset using purple, black and grey in the places they needed to be. |
 |
| Here I have added a new layer and selected darker tones and light tones of grey and purple to apply some shade. |
 |
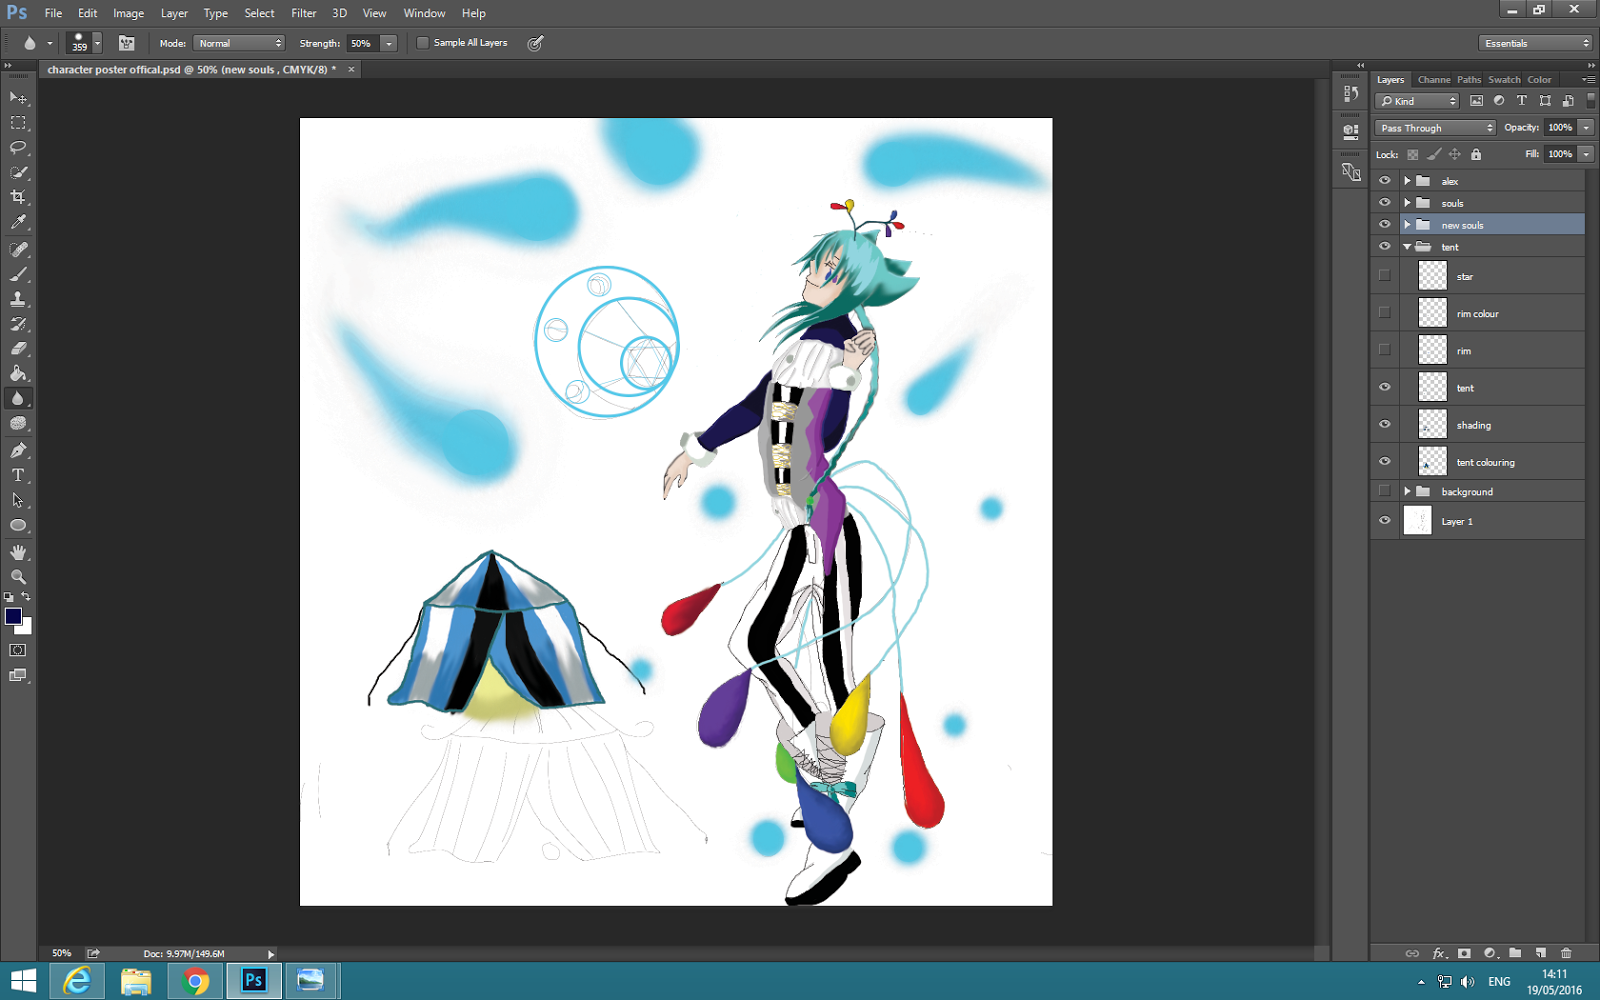
| I have added a new layer and used the select tool to select all of the tears and blocks coloured using the paint bucket. I used vibrant colours because it symbolises fun and brightens up the picture. |
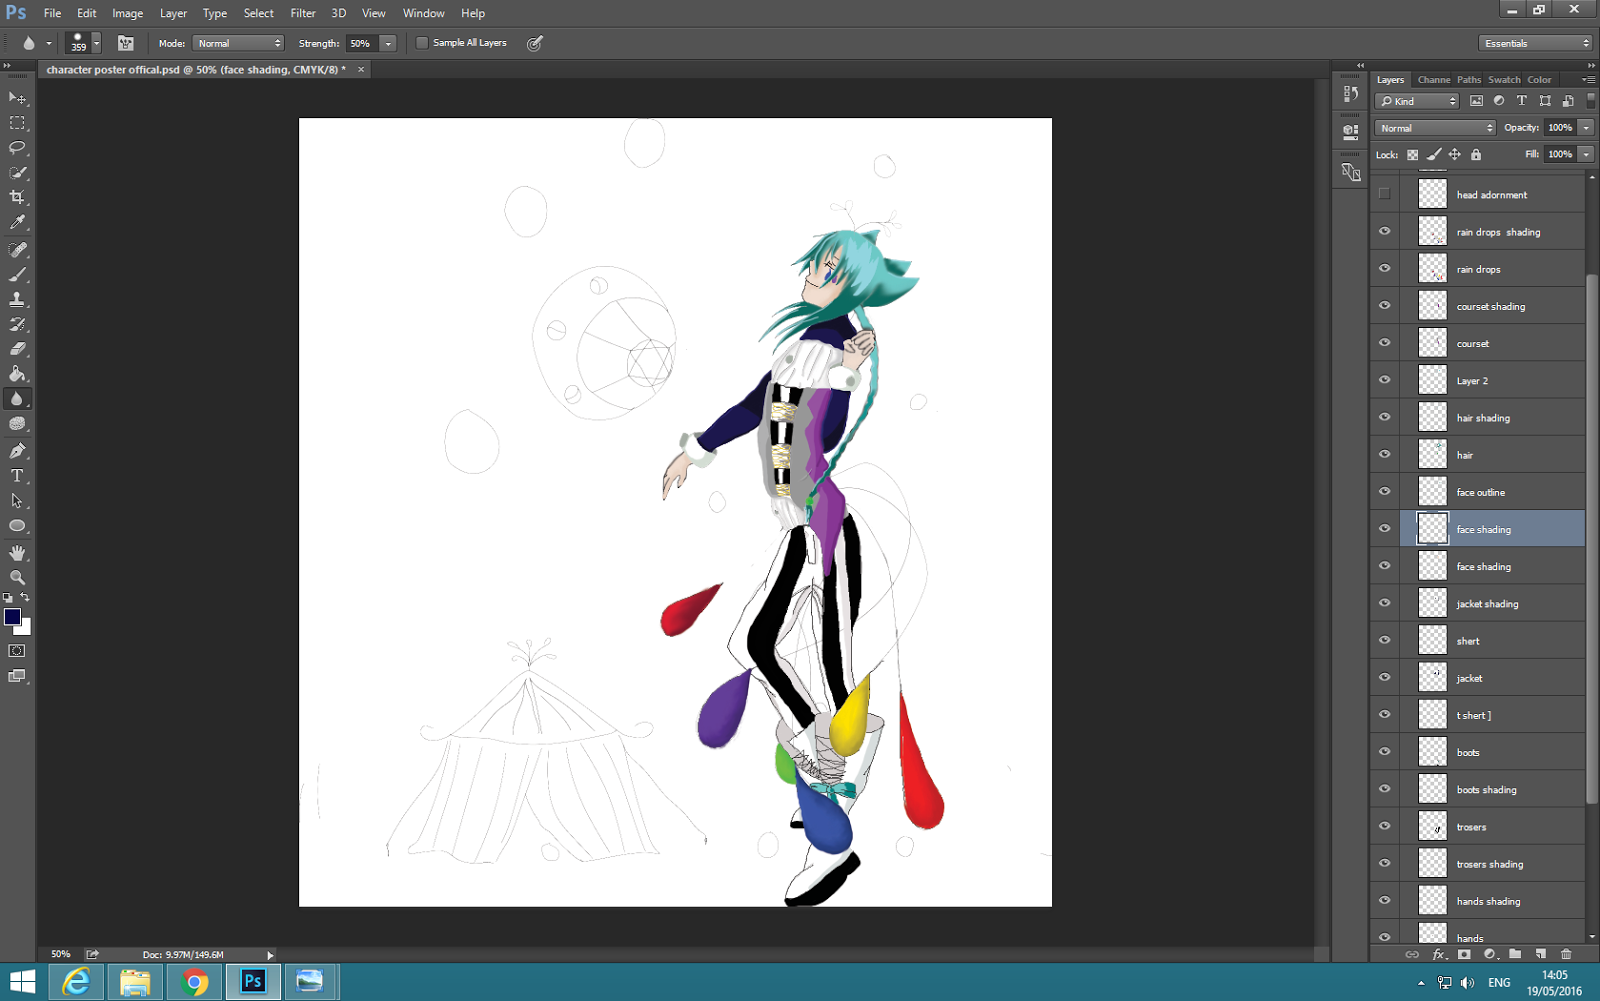 |
| I have added a new layer and I have used the brush tool to go around the tears in a darker colour and then I used the blending tool to blend the colours together. |
 |
| Here I have added a new layer and added the adornment on his head. I have used a pencil tool to draw the lines and then I used the select tool to select the shapes and use the same colours as the bottom tears. Then I used the paint tool to colour them in. |
 |
| Here I have added the lace for the raindrop using the pencil tool. You can't see it but when I have finished the background it should glow. |
 |
| Here I have thickened the lines for the lace because I could not see it that much. |
 |
| Here I have started to create the souls, I have used the shape tool and selected the circle shape and used different shapes and dotted them around him. I have selected a blue colour because I wanted them to glow. |
 |
| Here I have used the shape tool to create my demon seal, to make it more of a crisp shape I used the shape tool. I used a blue colour to make it glow. |
 |
| Here I have tried to make a ghostly effect. I used a big brush tool and surrounded the circle shapes to make this effect but it did not work out well so I did not use it. |
 |
| Here I have tried a different way around it by using the brush tool and from the circle I have drawn a line, then I used the blending tool to create the faded effect and to drag the colour out and twisted the colour so it looks ghostly. |
 |
| Here I have drawn an outline of a circus tent using a brush tool. |
 |
| I have used the brush tool to colour in lines in different colours. I have chosen these colours because they are bright and fun. |
 |
| I have added a new layer and used darker shades of all the colours using the brush tool and applied it the bottom of the tent and the middle and then I have used the blending tool to create this effect. |
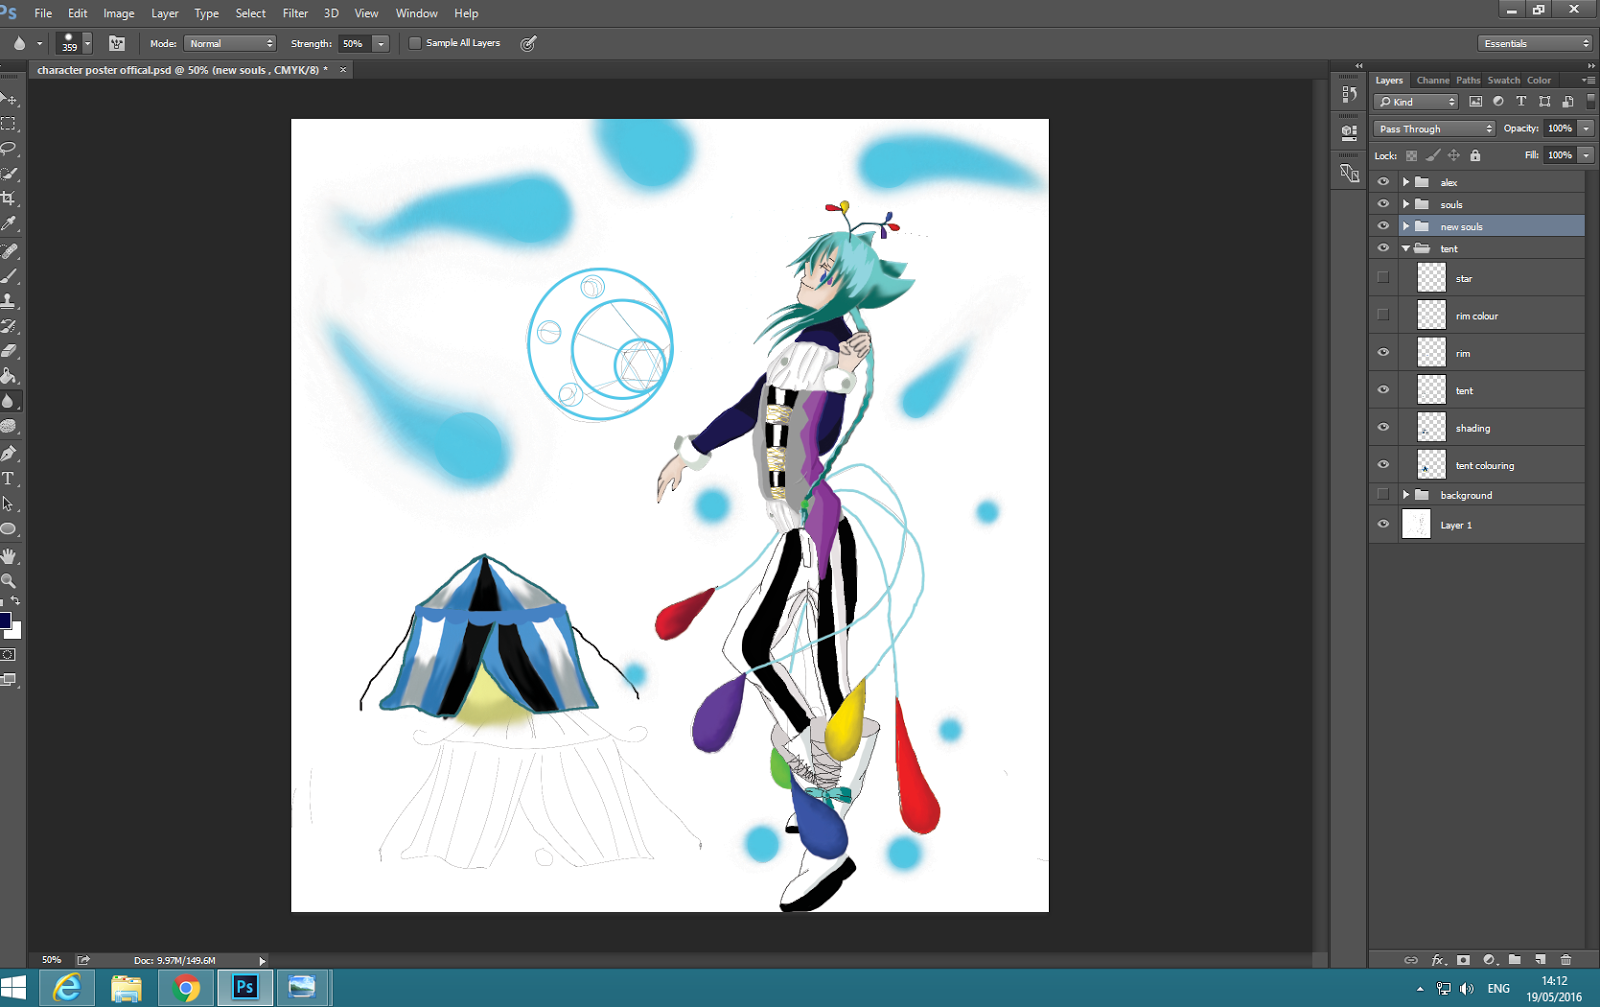 |
| Here I have added a ribbon around the upper tent. I have started with a base coat of blue using a brush tool. |
 |
| Here I have changed the colours to the opposite colours of the cloth. I used a brush tool to make this. |
 |
| Here I have added a star on top of the circus tent to give it more character. I have used the colour white to make the stars and then I have a light grey and blended it using a blending tool. |
 |
| Here I have started on the background. I have used different dark blues and mid-tone blues and I have used the brush tool and blending tools to get this effect. I have applied the colours randomly and blended it in using the blending tool and this is the outcome I have got. I like the outcome but I think it is missing something to make it a night sky so I did not use this. |
 |
| Here I have added yellow dots using a small brush tool and then after I have blended them in using the blending tool. I liked it but I think it still was missing something so I changed it. |
 |
| Here I have added some white dots and blended them in using the blending too and smudged it using the smudge tool. I liked it a lot so I kept this one because it looked like a starry night. |
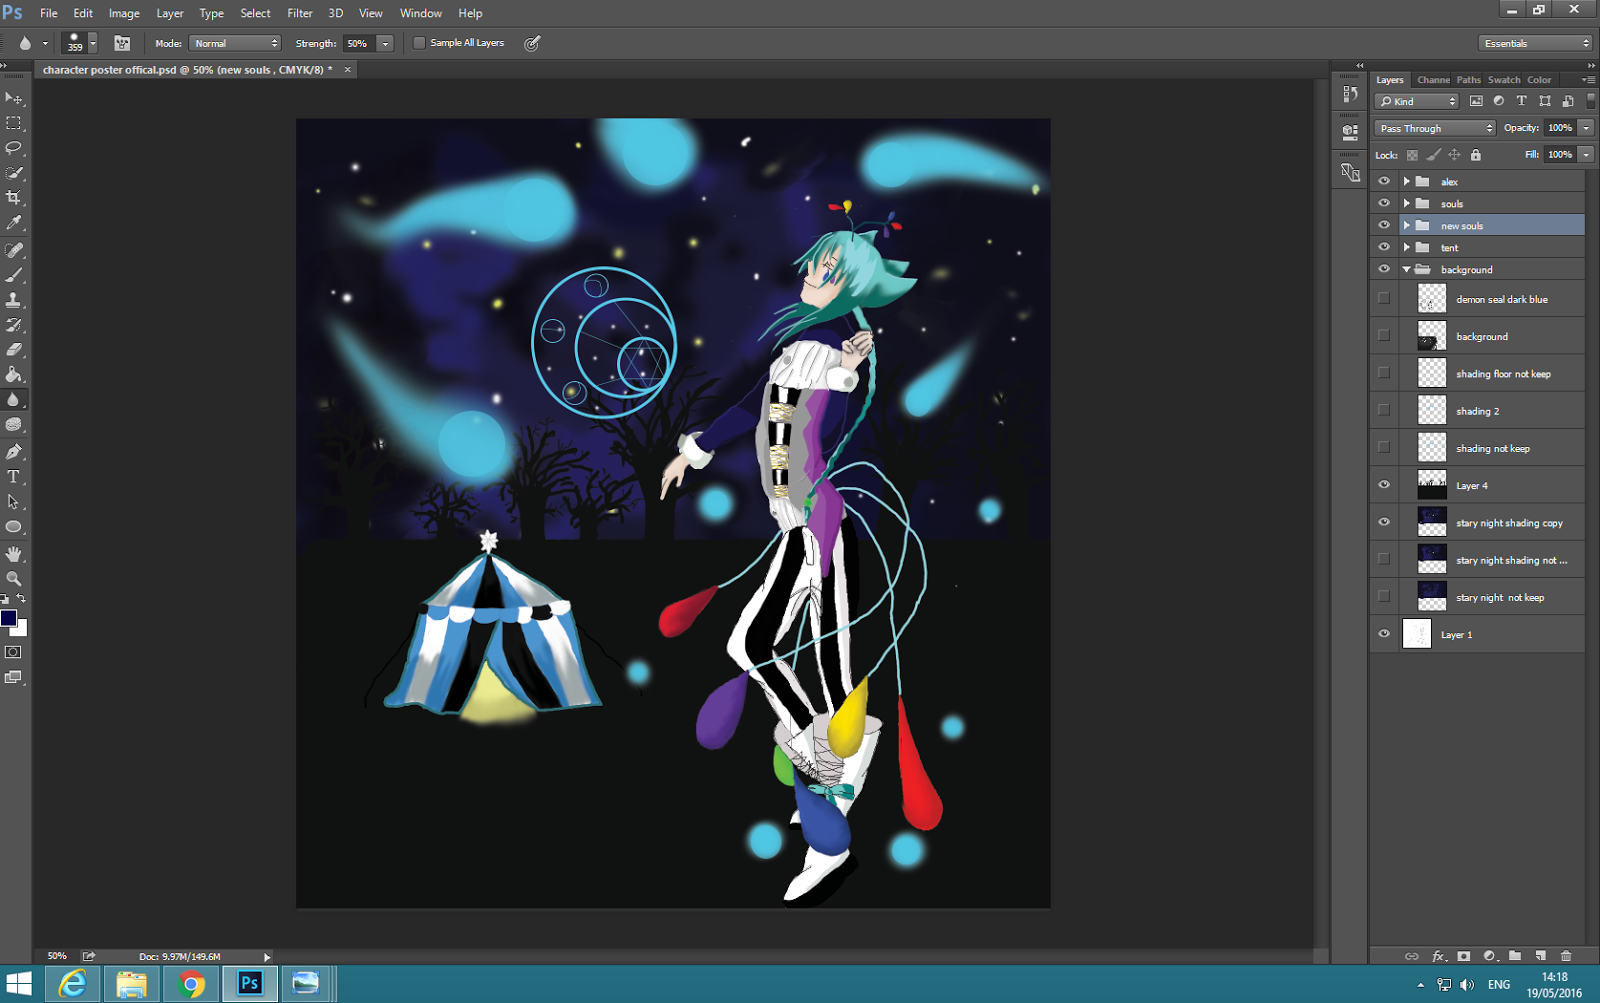 |
| Here I have added the foreground, I did this by using the brush tool and painted the floor black and then I used the same colour for the trees. I made the trees using the pencil tool and brush tool in different sizes. |
 |
| I thought the trees looked too dark so I have added blue highlights to them using the brush tool where I think the light would be. I did this because it shows the reflected light from the souls. |
 |
| Here I have changed the highlights by using the burn tool to make some of the lines a bit darker. To be honest, this is the first time for me using the burn tool, in further projects I will be using this tool again. |
 |
| I did add some highlights to the ground using the brush tool but I did not like this so I did not use this layer. |
 |
| Here I have added this to the ground. I did this just to experiment because someone in class gave me some feedback and they said to do this so I tried it and I ended up liking it, so I kept this layer. |
 |
| Here I have copied my demon seal and changed the colour to a dark blue because it shows the shade coming from his demon seal. I placed it under the tent because it is the shadow coming off the demon seal. I copied it by pressing control-C and that is it, my first poster is complete. |
 |
| Here I have started my second poster. I have selected the custom shape tool, selected a diamond shape and copied the same multiple of times and made this pattern. Then I have used the paint tool and selected a light turquoise and went to start getting darker shades until I reached the end. |
 |
| I then copied my character and pasted him into my background and then I resized it to my liking. |
 |
| Here I have written some text saying "Alexander Ashmore," my characters name, and then I wrote it in a vertical line and placed it into the diamonds shapes. |